預先安裝說明
把工具裝好。
Pre-Install Guide
Get the Toolchain Ready.
活動日期 2026.10.14,請在抵達前依下方清單裝好工具(指令皆可一鍵複製)。 Event date: 2026.10.14 — install everything below before you arrive (every command is one-click copy).
先註冊 Qualcomm 帳號。請用公司信箱註冊喔!Register a Qualcomm account first. Please use your company email to register!
開始前請先到 qualcomm.com 註冊 Qualcomm 帳號(Qualcomm Software Center 登入與後續 AI Hub 都會用到)。
Before you start, register a Qualcomm account at qualcomm.com — you'll need it to sign into Qualcomm Software Center and for AI Hub later.
Qualcomm Software Center https://softwarecenter.qualcomm.com/
Qualcomm AI Hub https://aihub.qualcomm.com/
流程導覽Walkthrough
先看一段 2 分鐘流程導覽Watch a quick walkthrough first
點這裡開啟影片,快速了解本次預先安裝與準備流程。Open the video to quickly see the prep flow and what to expect.
開啟流程影片Open walkthrough video攜帶清單Checklist
請確認手邊有以下元件。 Confirm you have these on hand.
Windows 筆電Windows Laptop
請務必使用 Win11 系統進行操作,並且已經裝好行前準備裡需要的工具。 Please ensure your system is updated to Win11, with the tools from Pre-Install already installed.
網路轉接線Ethernet Adapter
現場採實體網路線連接,未提供 Wi-Fi,請自行攜帶網路轉接線(規格:Type-C to RJ45)。若筆電沒有 Type-C 接口,請準備對應該筆電接口的 RJ45 轉接線。 On-site network access is wired Ethernet only — Wi-Fi is not provided. Please bring an Ethernet adapter (spec: Type-C to RJ45). If your laptop has no Type-C port, bring an RJ45 adapter that fits your laptop's port.
滑鼠Mouse
要接到 Q911 操作裝置用,請自行攜帶。 Needed to operate the device connected to the Q911 — please bring your own.
腳本流程 Agent SkillScript Flow Agent Skill
我們準備了現成的 Agent Skill,能自動幫你跑完整個腳本流程,想試試看的話很歡迎。要用它,照下面三步驟準備: We've prepared a ready-made Agent Skill that can run through the whole script flow for you automatically — happy to have you try it. To use it, get these three things ready:
沒有這些工具也沒關係,請使用手動執行的腳本。 Don't have these? No problem — a manual script will be available on-site too.
安裝教學:VS Code + Claude CodeInstall walkthrough: VS Code + Claude Code
跟著下面步驟裝到能用即可,不含怎麼執行 Agent Skill(現場另外教)。畫面以 Windows 為準。 Just follow the steps below to get everything installed and ready — actually running the Agent Skill is covered separately, on-site. Screens assume Windows.
第一部分・安裝 VS CodePart 1 · Install VS Code
-
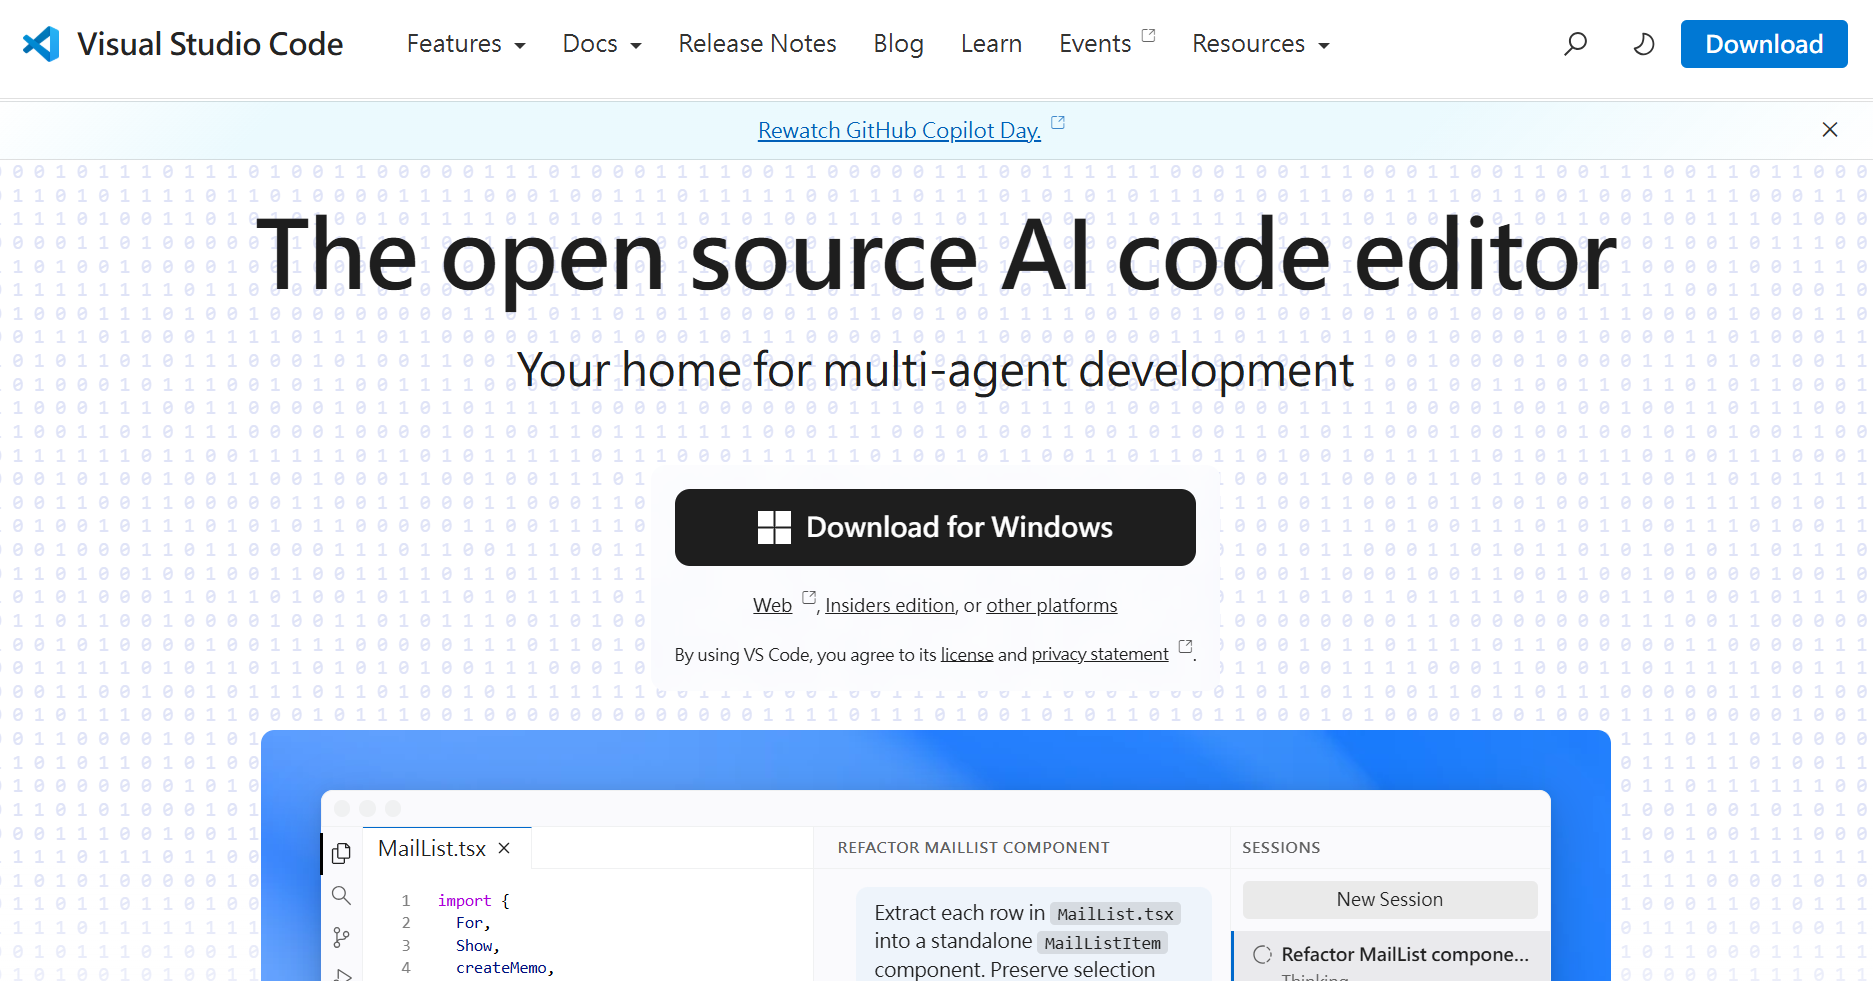
點連結前往官網:code.visualstudio.com,點「Download for Windows」下載。
Click here: code.visualstudio.com, then click "Download for Windows".
-
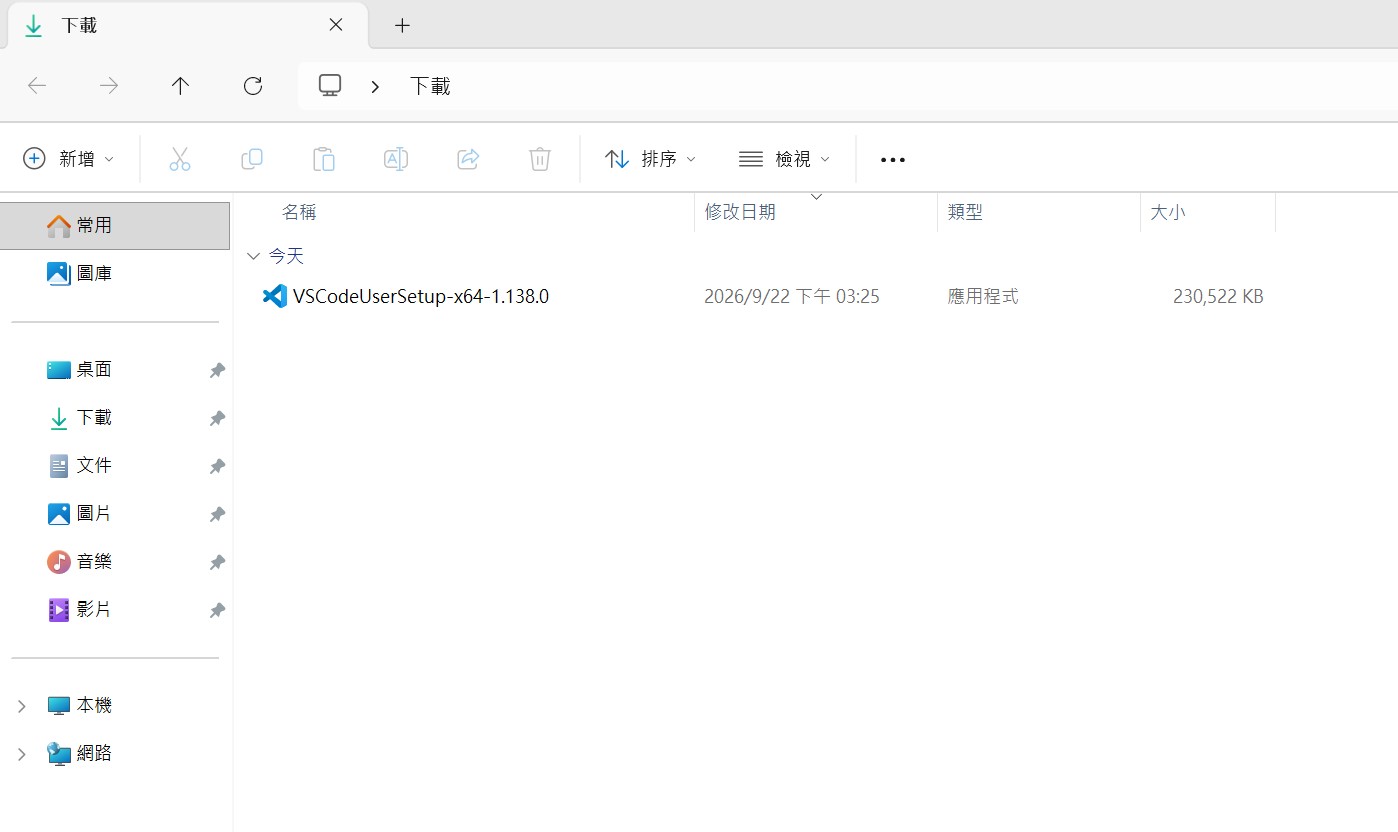
到「下載」資料夾雙擊安裝檔開啟。少數電腦會跳出 安全提示。
Double-click the installer in your Downloads folder. A few PCs show a security prompt here.
-
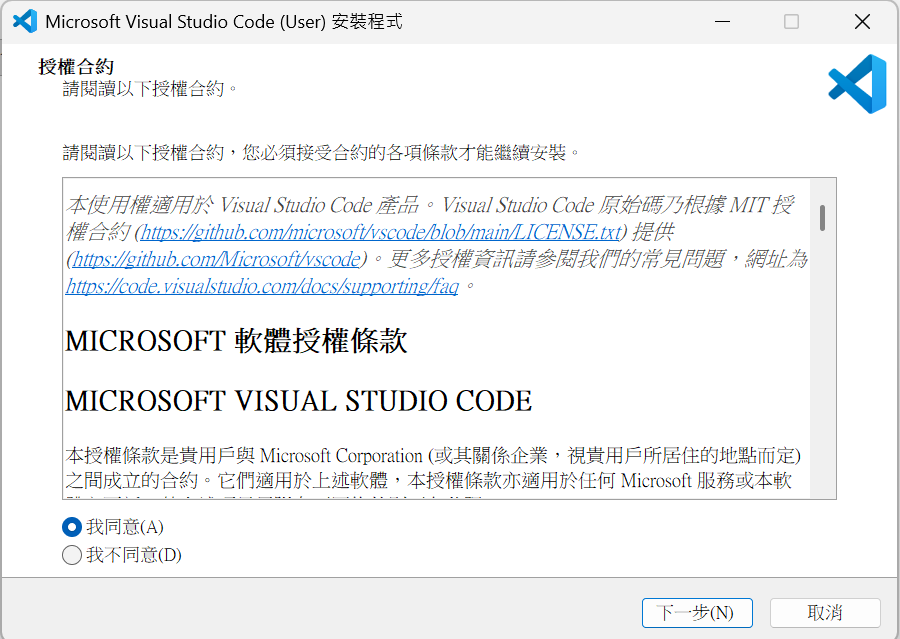
選「我同意」授權合約,按「下一步」。
Select "I accept the agreement", then click Next.
-
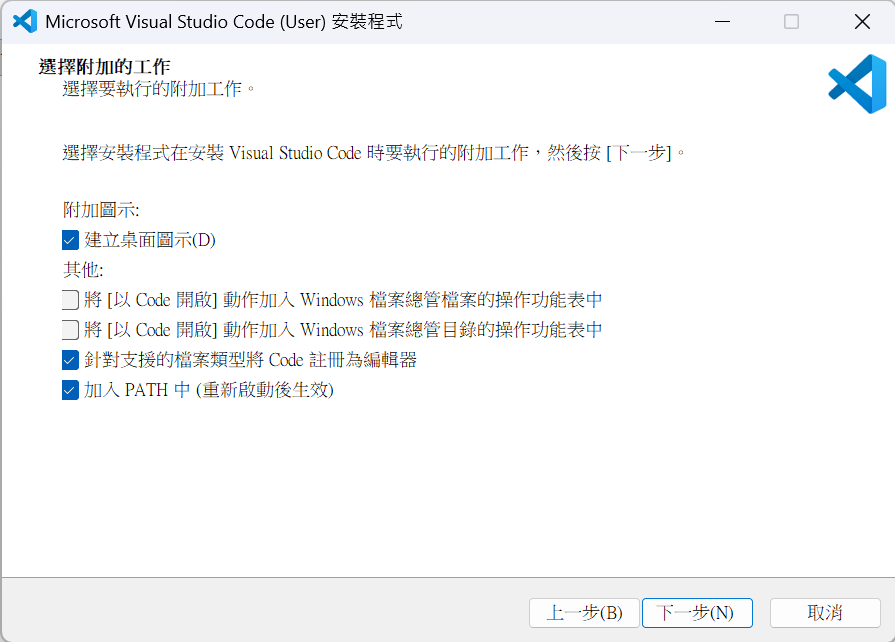
其餘用預設,一路按「下一步」,確認「加入 PATH 中」有打勾,按「下一步」→「安裝」。
Keep the defaults, click Next through the wizard, make sure "Add to PATH" is checked, then click Next → Install.
-
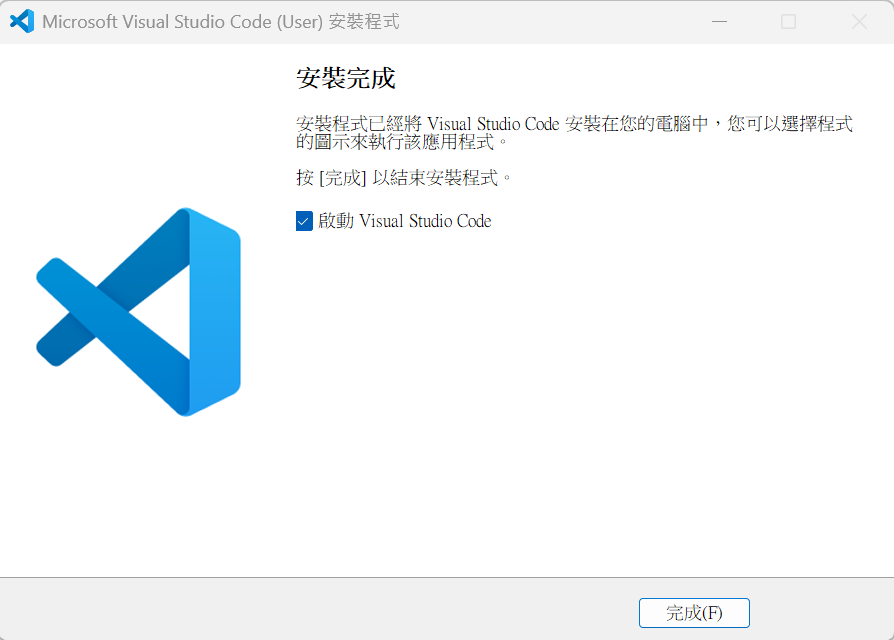
安裝完成後按「完成」,VS Code 會自動開啟。
Click Finish when it's done — VS Code opens automatically.
第二部分・安裝並登入 Claude CodePart 2 · Install and sign in to Claude Code
-
點左側 Extensions 圖示(四方塊,或按
Ctrl+Shift+X),搜尋 Claude Code。 Click the Extensions icon (four squares, or pressCtrl+Shift+X) and search for Claude Code.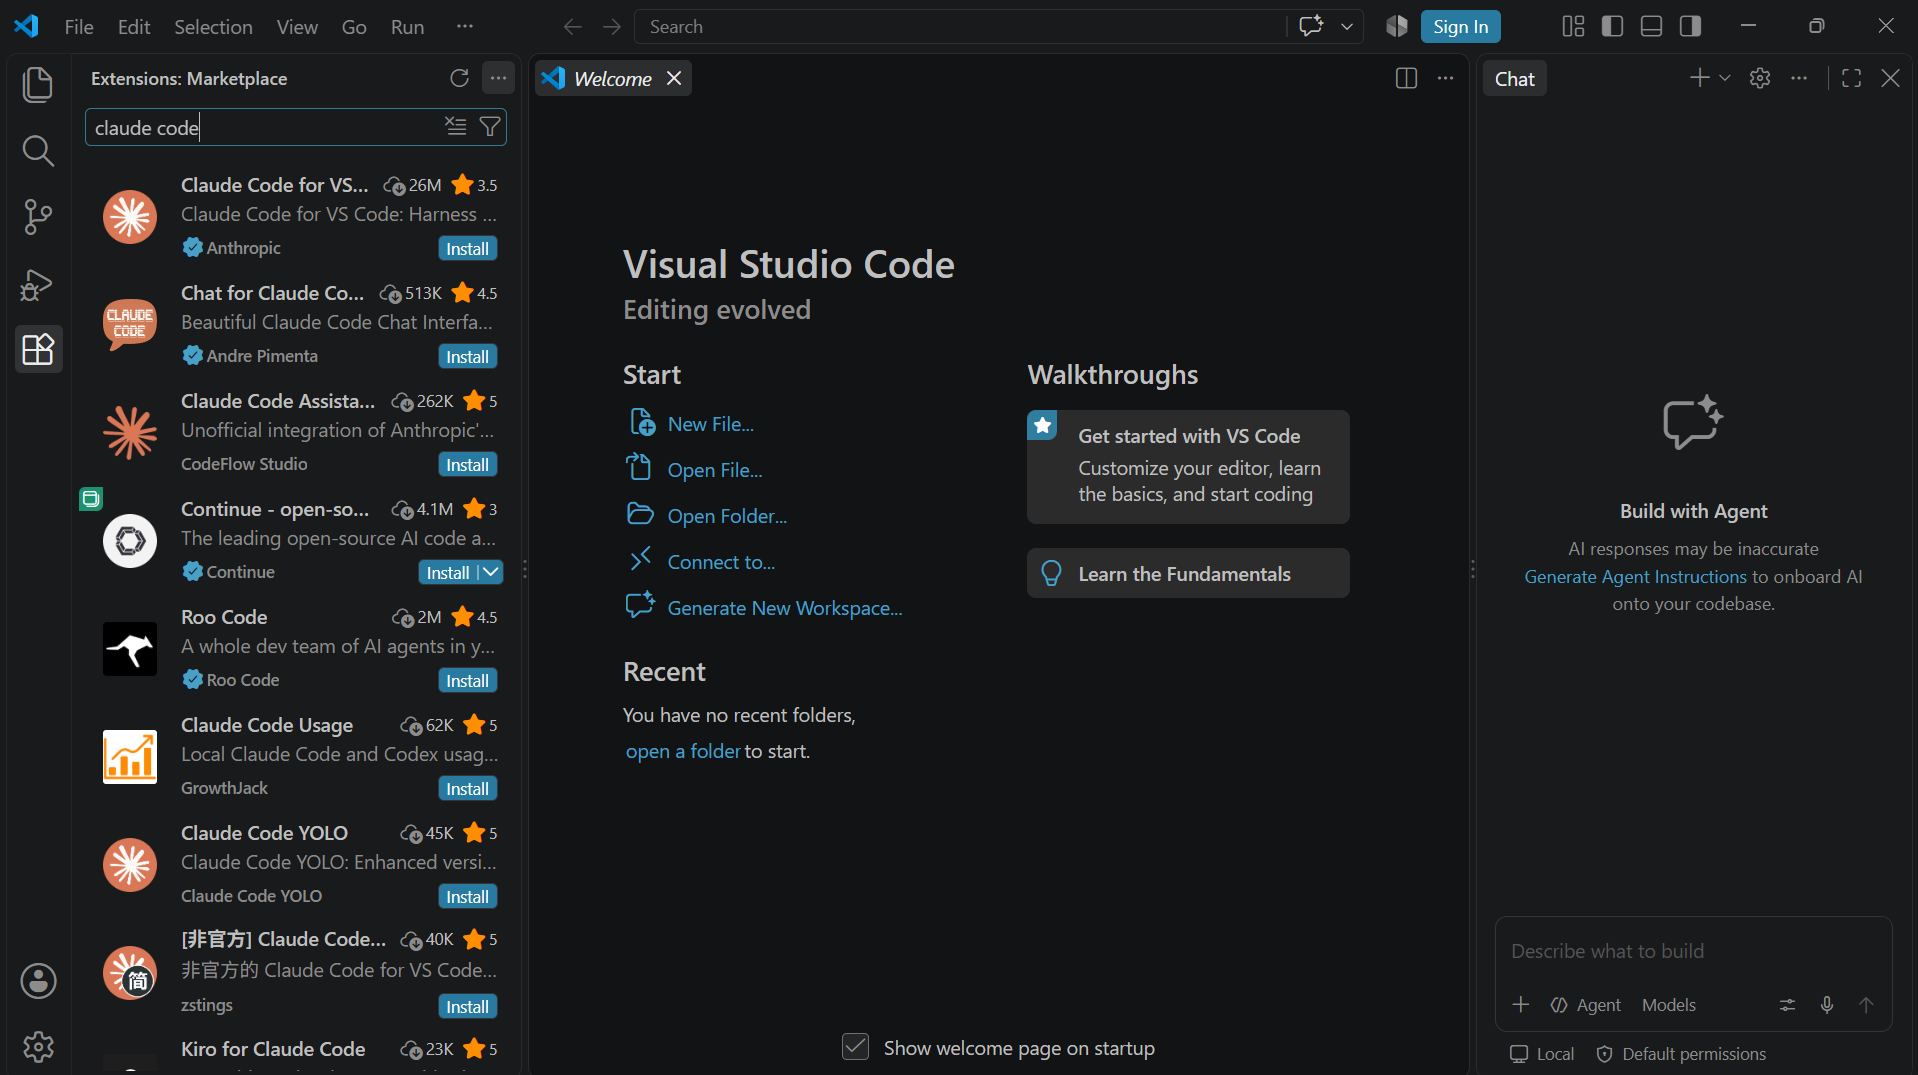
-
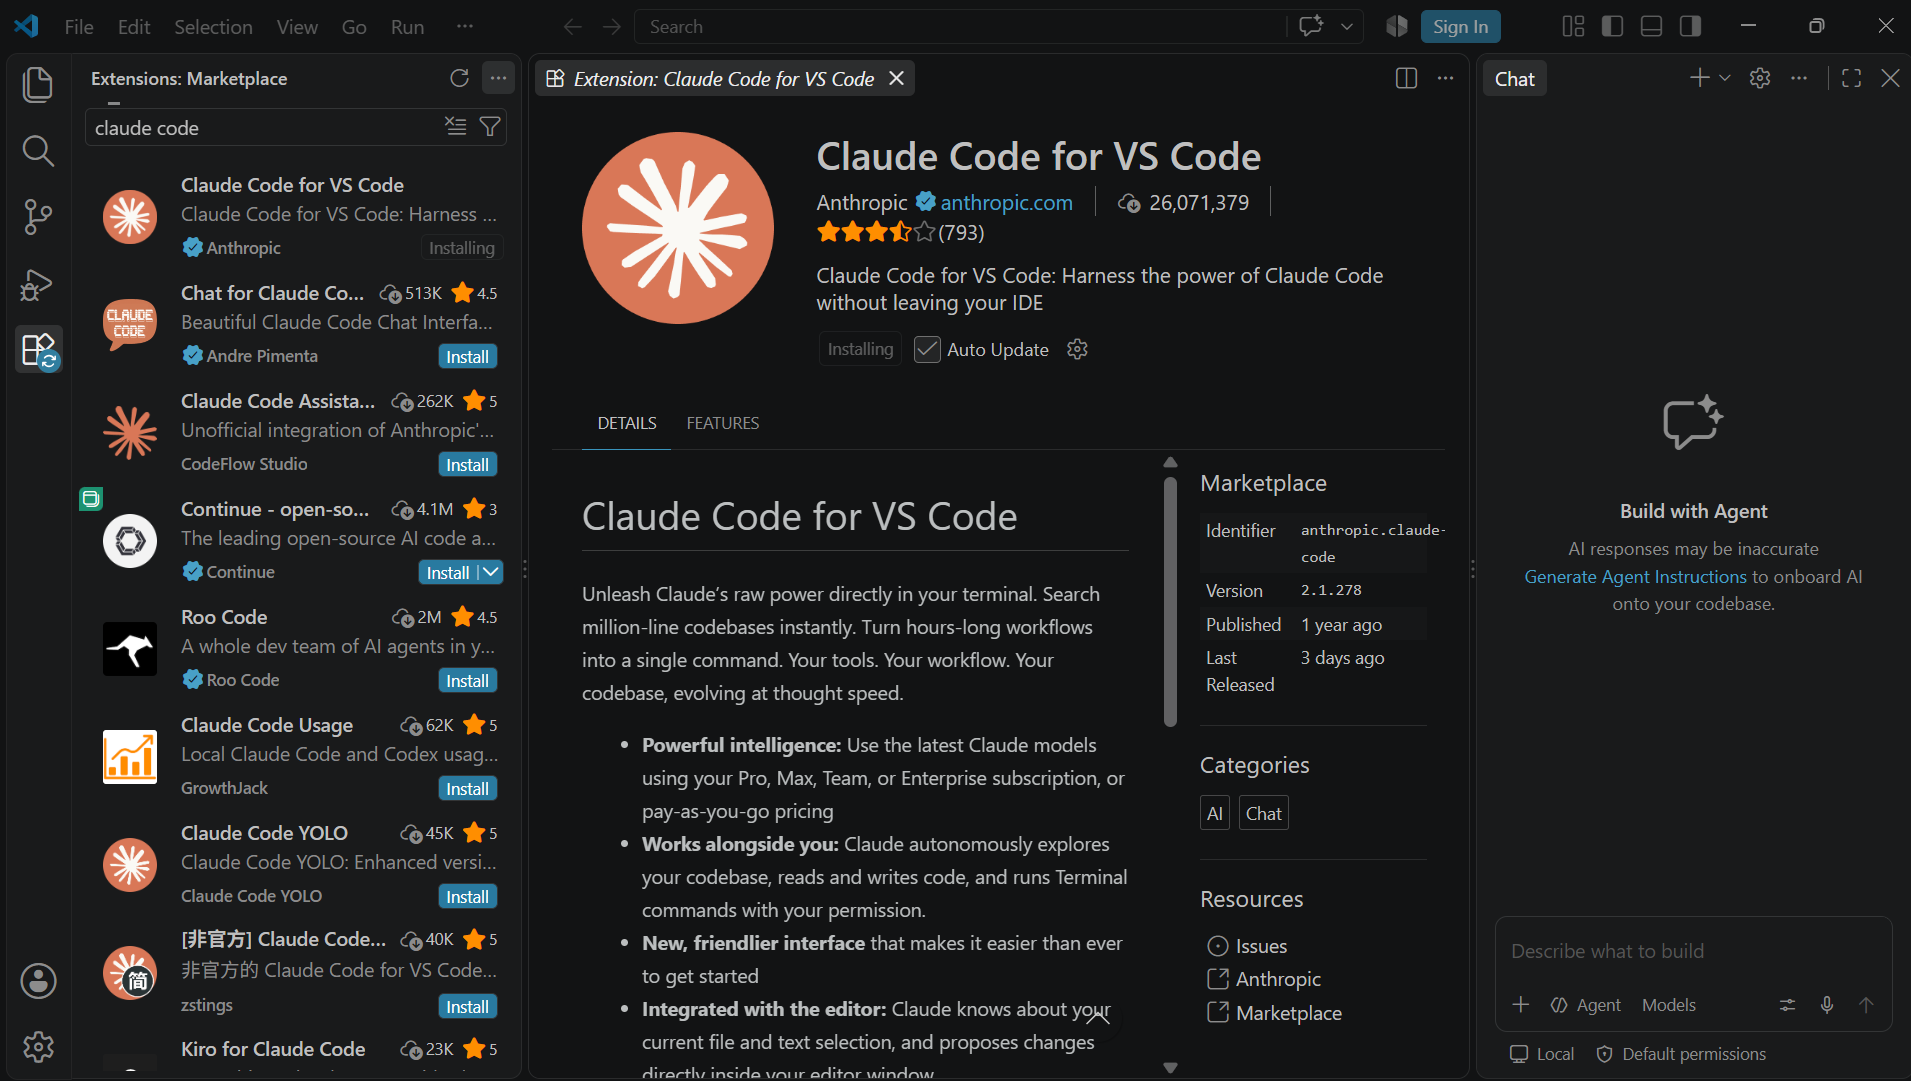
找到發布者 Anthropic 的那個(Claude Code for VS Code),點「Install」,等待安裝完成。
Find the one published by Anthropic (Claude Code for VS Code), click "Install", and wait for it to finish.
-
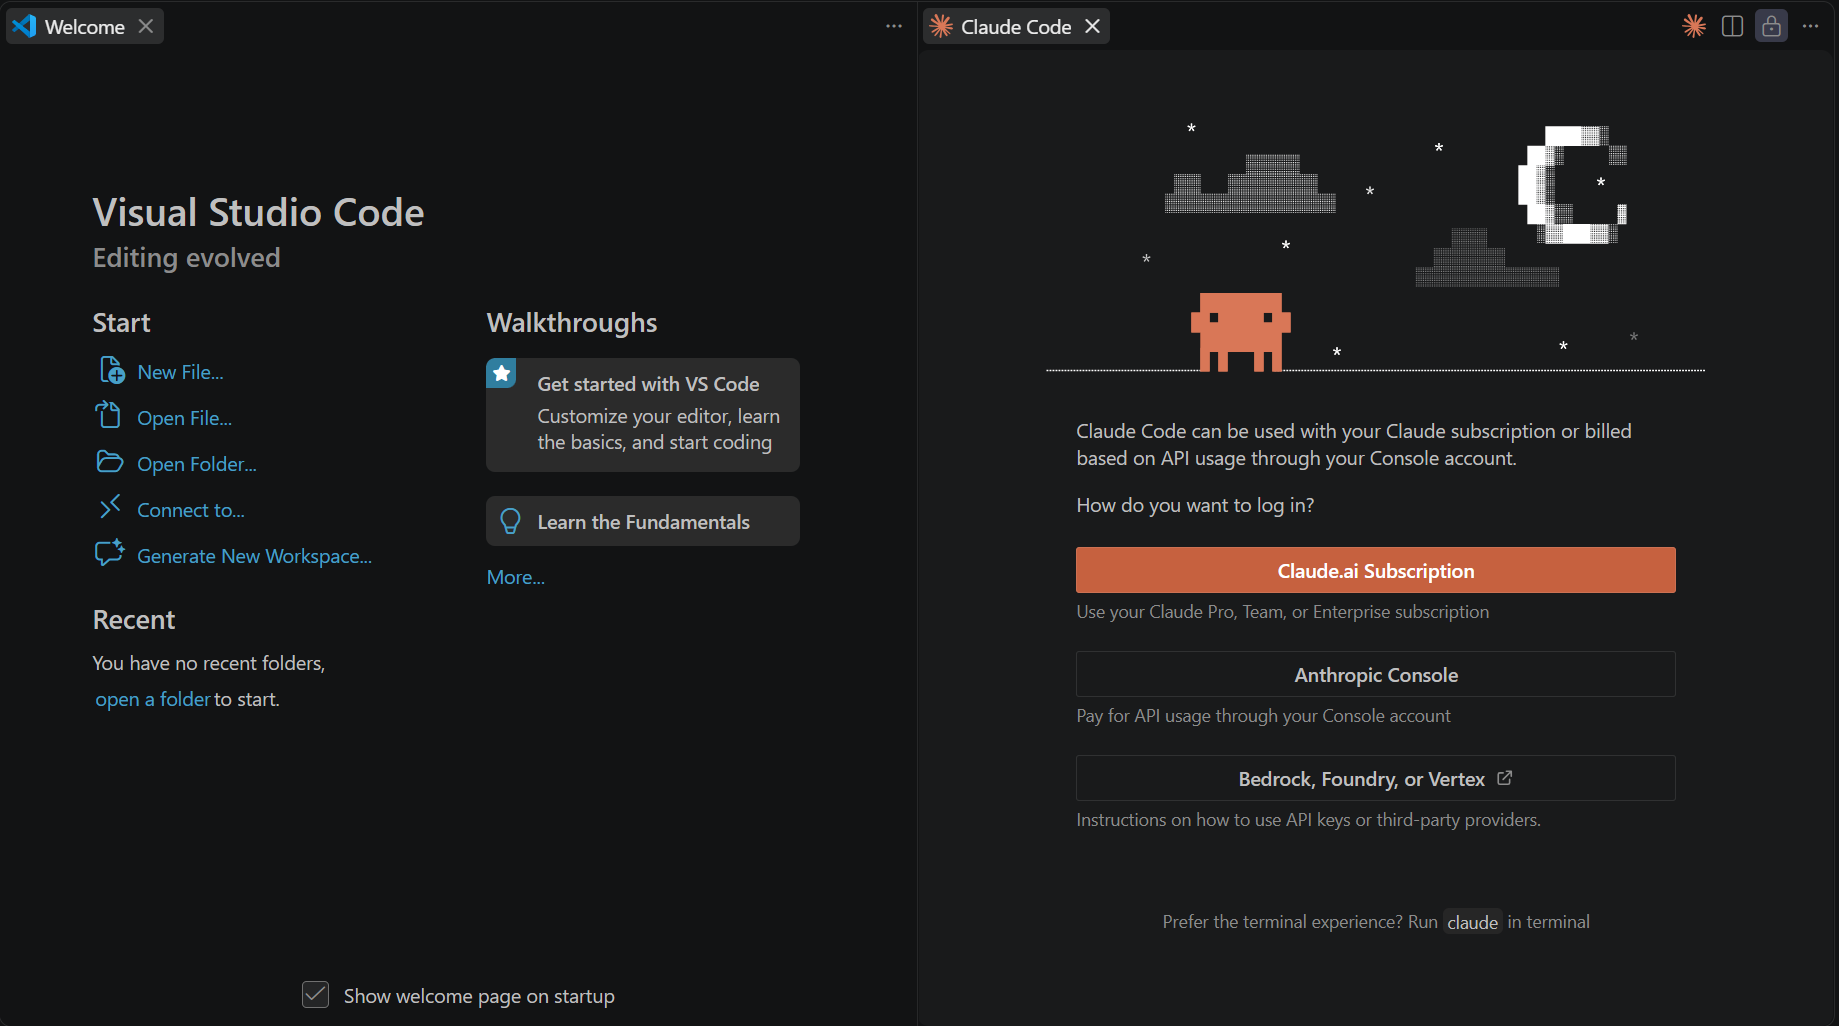
安裝完成後,點右上角新出現的 Claude Code 圖示(橘色圖案),會打開登入畫面,點「Claude.ai Subscription」。
Once installed, click the new Claude Code icon (orange) in the top-right corner — a login screen opens; click "Claude.ai Subscription".
-
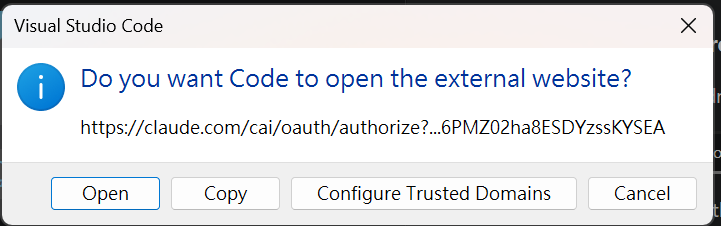
VS Code 會問是否開啟瀏覽器,點「Open」。
VS Code asks whether to open the external website — click "Open".
-
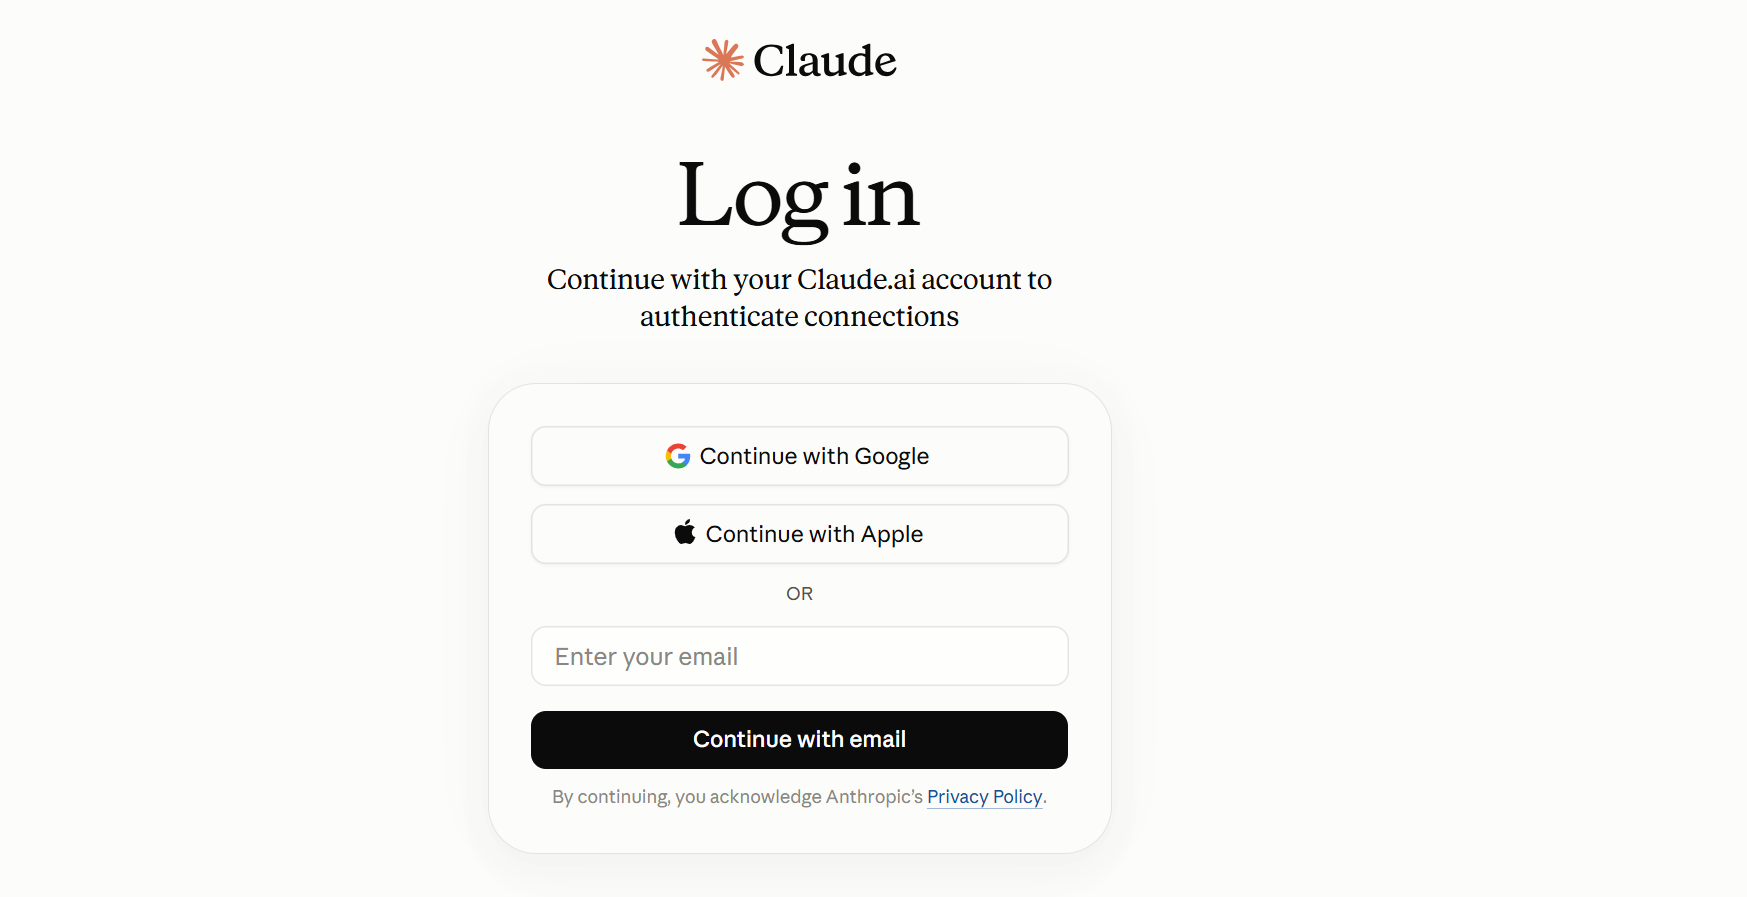
用訂閱 Claude.ai 帳號(Pro/Max)登入(Google/Apple/Email 都可以)。
Log in with a Claude.ai account on a subscription plan (Pro / Max) — Google, Apple, or email all work.
-
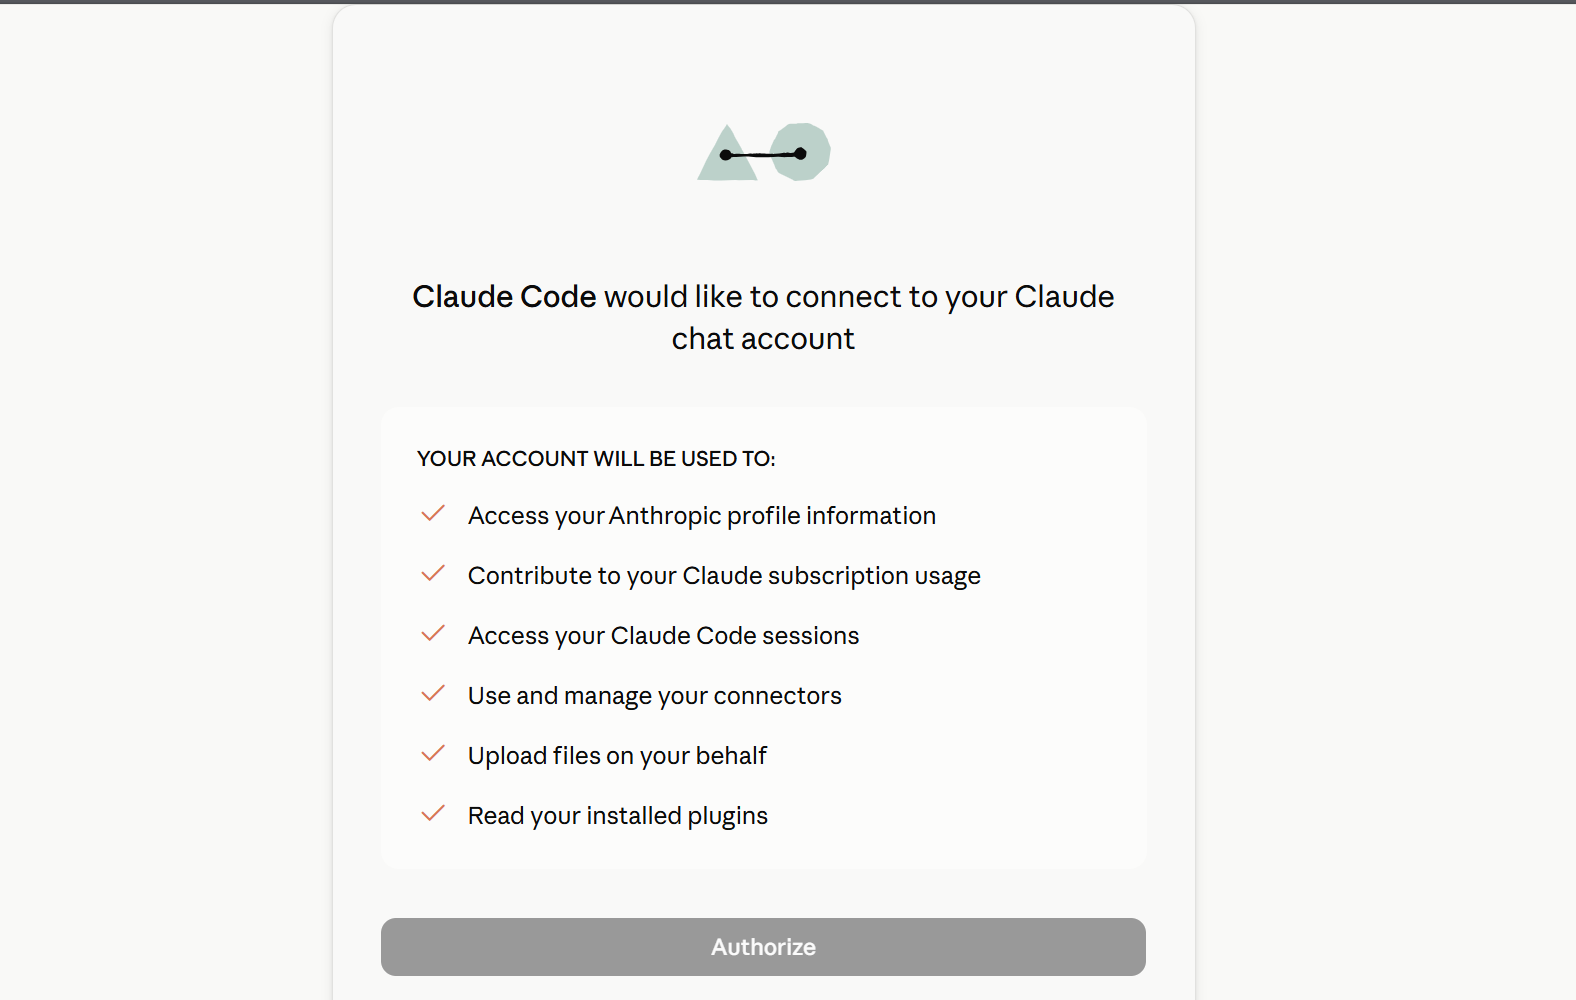
瀏覽器會問是否授權 Claude Code 連接你的帳號,點「Authorize」。
The browser asks to authorize Claude Code to connect to your account — click "Authorize".
-
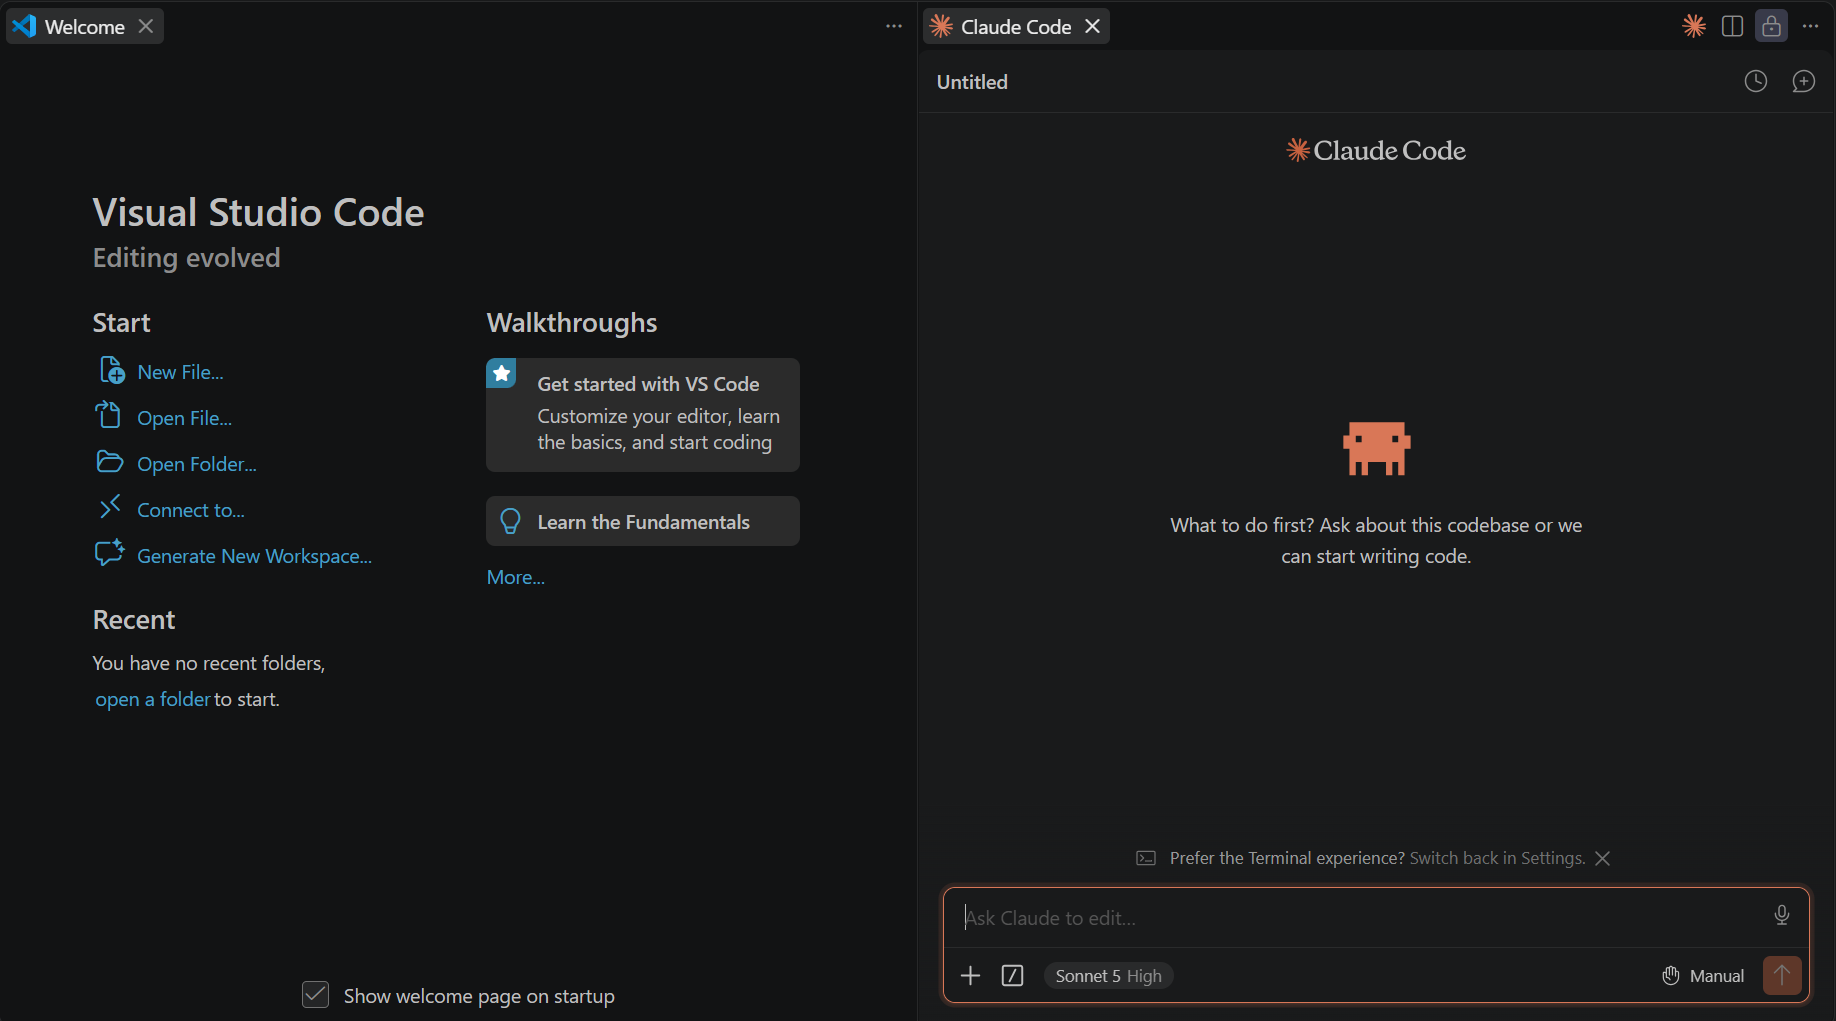
回到 VS Code,面板會變成可以打字對話的聊天框,代表裝好登入成功了。(沒反應就重開 VS Code。)
Back in VS Code, the panel becomes a chat box you can type into — that means it's installed and signed in. (If nothing changes, restart VS Code.)
不想裝也沒關係,現場提供手動腳本一樣能完成。 Don't want to install this? A manual script will be available on-site too.
現場會提供,不用帶We'll provide — no need to bring
| 物品Item | 數量Qty | 現場提供Provided |
|---|---|---|
| EXMP-Q911 | × 1 | |
| Type-C to USB | × 1 | |
| DP2HDMI 轉接線DP2HDMI adapter | × 1 | |
| HDMI to HDMI 線(主動式)HDMI to HDMI cable (active) | × 1 | |
| 螢幕Monitor | × 1 | |
| UVC Camera | × 1 |
軟體清單 · Software Checklist
| 軟體Software | 用途Purpose | Windows 11 |
|---|---|---|
adb |
連線 / 除錯平台Device connect / debug | |
| Qualcomm Software Center (QSC) | 下載 QUDDownload QUD | |
| QUD | Qualcomm USB 驅動Qualcomm USB driver | |
| WSL + Ubuntu | 模型轉換Model conversion |
開始前請注意:本實作流程僅支援 Windows 11,請務必使用 Win11 系統進行操作。 Please note: this tutorial only supports Windows 11. Please use a Windows 11 system for the following steps.
Qualcomm Software Center (QSC)
下載 QUDDownload QUD
- 下載並安裝 QSC:Download and install QSC: softwarecenter.qualcomm.com
- 安裝後以 Qualcomm 帳號登入。(務必使用公司信箱註冊)After installing, sign in with your Qualcomm account. (Please be sure to register with your company email address.)
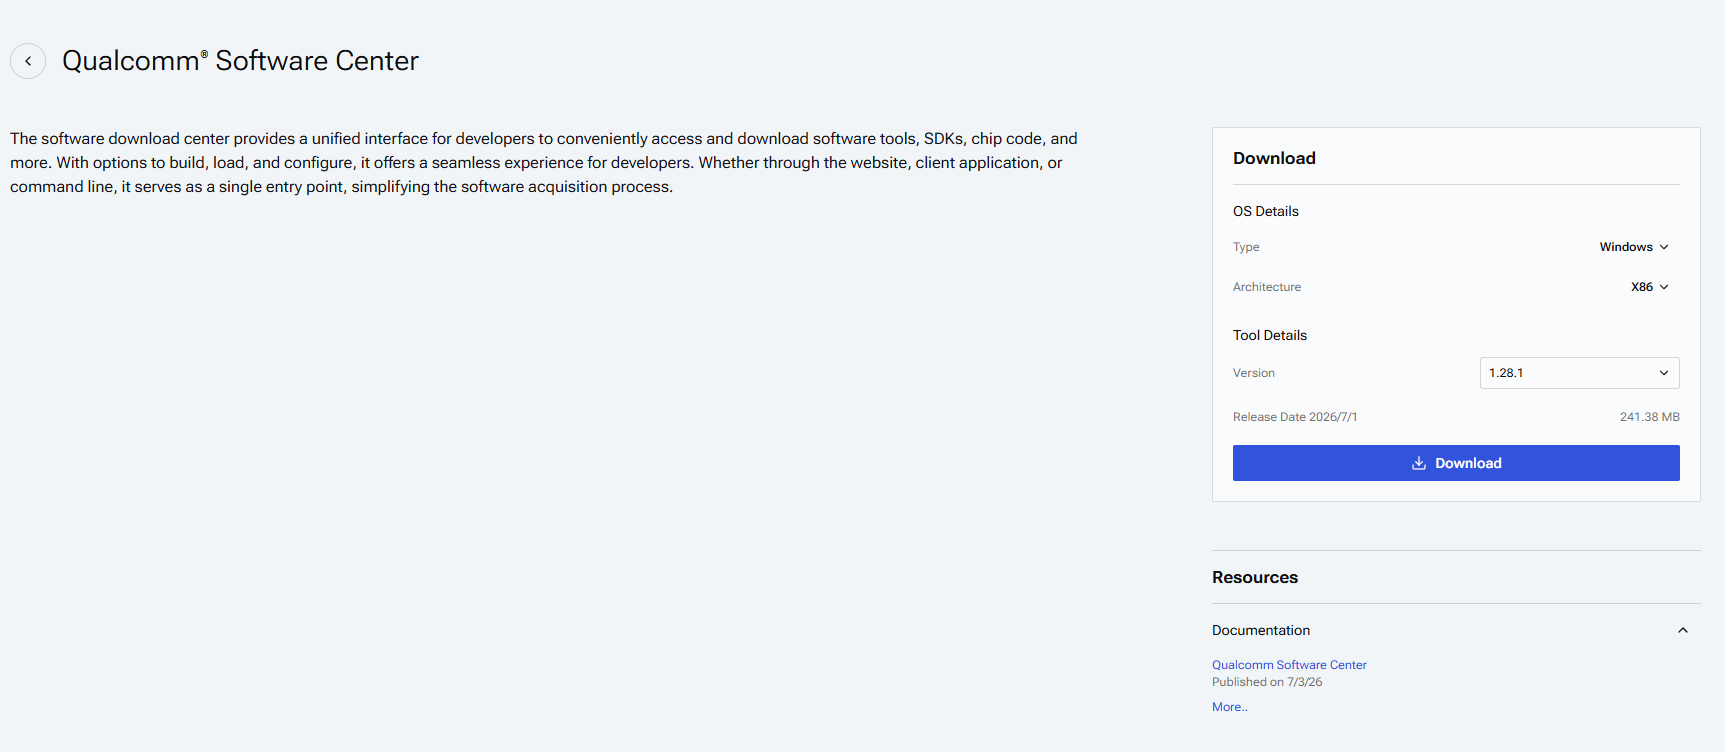
如果登入失敗,請先去簽署 qualcomm.com/agreements。 If sign-in fails, please sign the agreements at qualcomm.com/agreements first.
QUD (Qualcomm USB Driver)
Qualcomm USB 驅動Qualcomm USB driver
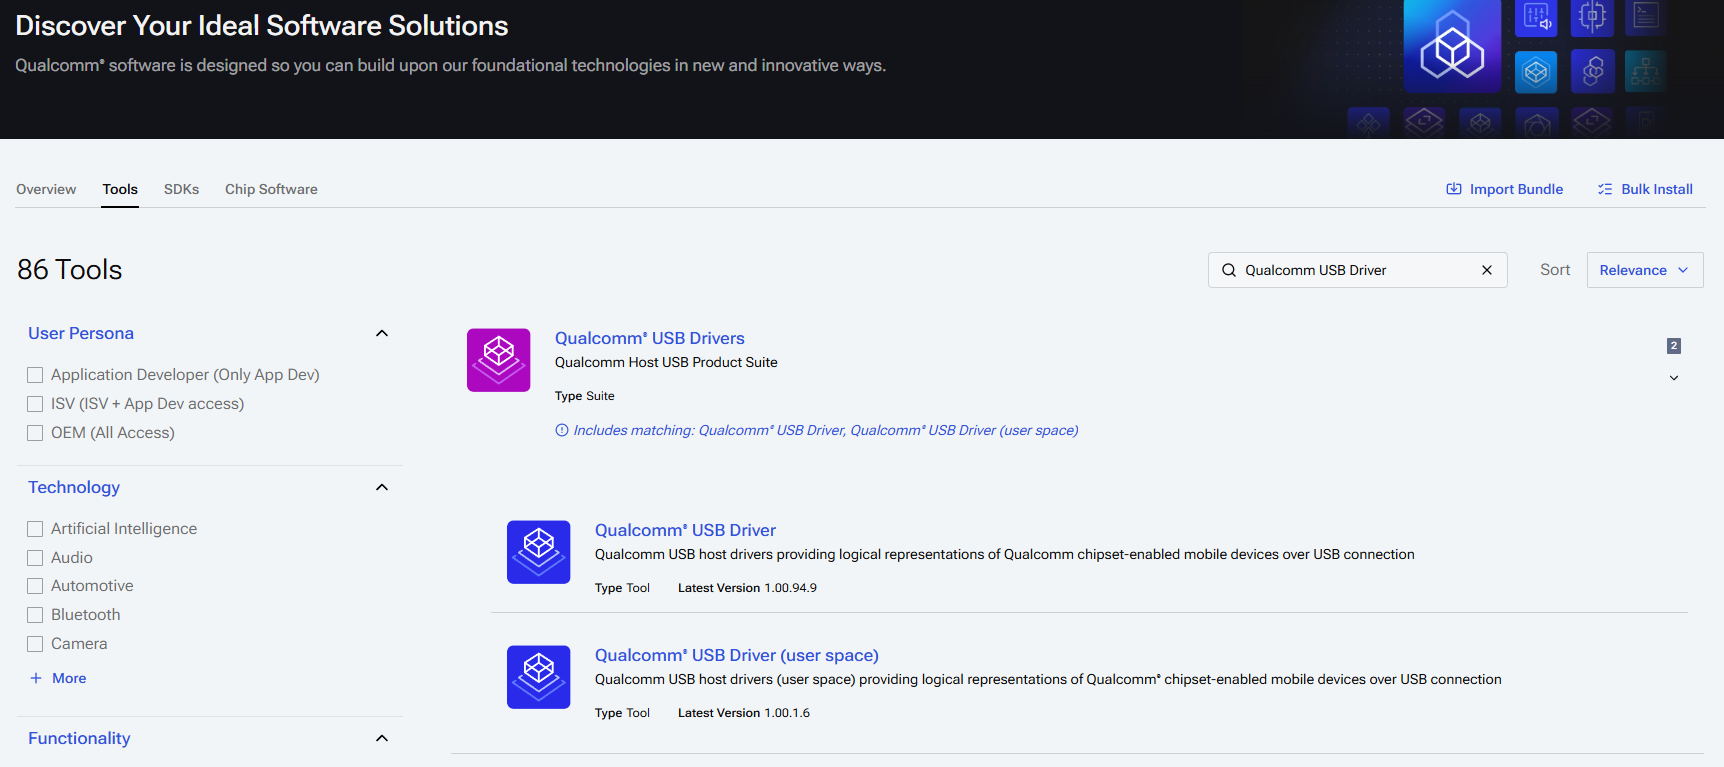
- 打開 Qualcomm Software Center。Open Qualcomm Software Center.
- 在 Tools 搜尋
Qualcomm USB Driver,下載並安裝。Under Tools, searchQualcomm USB Driver, then download and install.
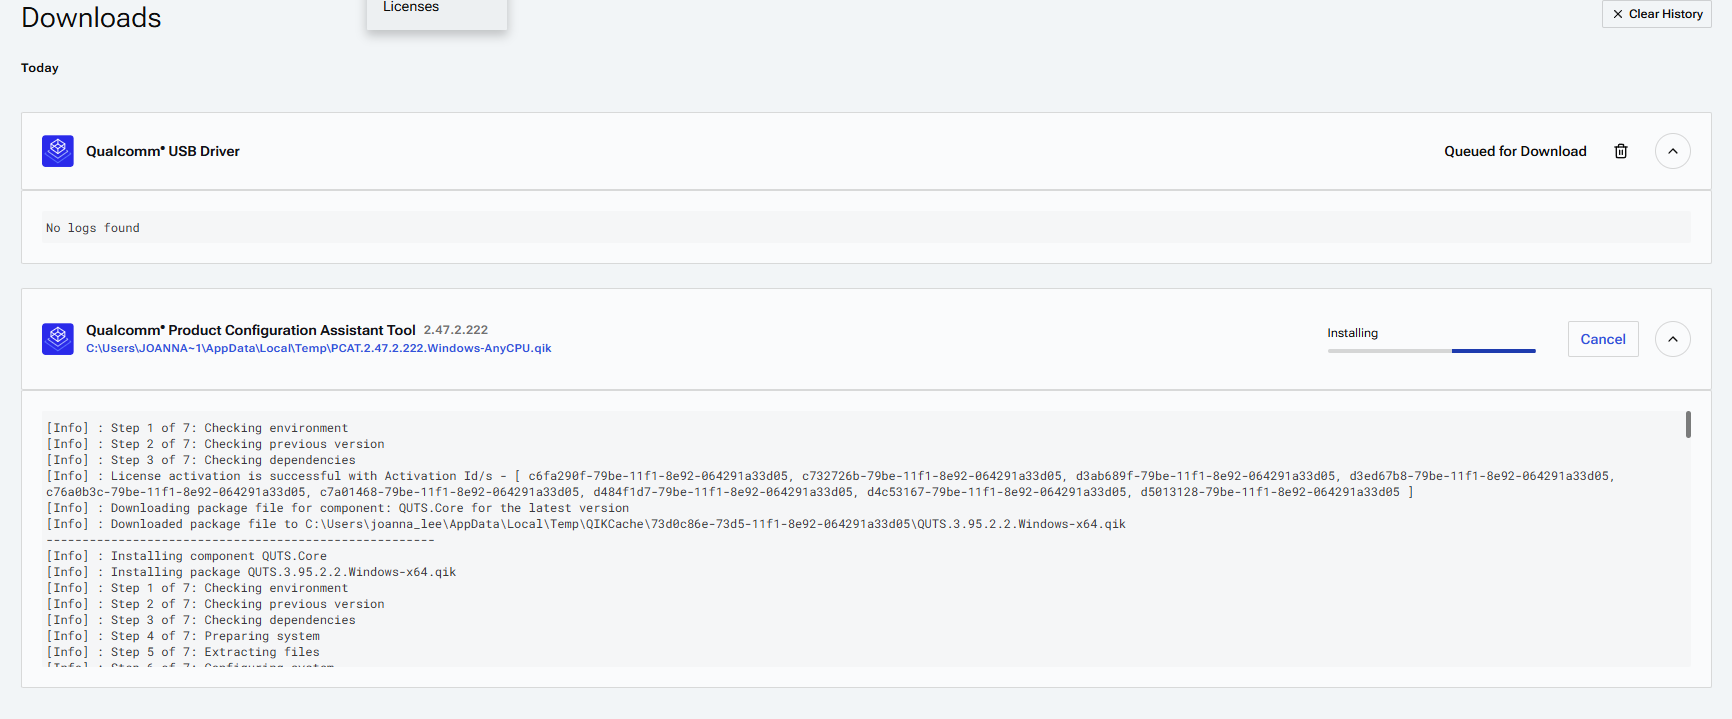
小提醒:一次只能安裝一個工具,若畫面顯示 No logs found,代表該工具尚未安裝。
Note: please install only one tool at a time. If a No logs found message appears, it means the tool hasn't been installed yet.
WSL + Ubuntu Setup
安裝環境是當日實作(hands-on)的基礎,請務必於課前完成配置。 A pre-configured environment is essential for the hands-on session; please make sure the install succeeds beforehand.
-
以管理員權限開啟 Windows PowerShell,執行以下指令。
Open Windows PowerShell with Administrator rights and run the following command.
PowerShell
wsl.exe --install -d Ubuntu-22.04 --no-launch -
執行以下指令,檢查是否安裝成功。
Run the following command to check the install succeeded.
PowerShell
wsl.exe --list --verbose
PowerShell 顯示 Ubuntu-22.04 就代表成功了!
As long as PowerShell shows Ubuntu-22.04, you're good to go!
若安裝過程中遇到權限限制,請聯繫貴公司的 IT / MIS 部門協助排除。 If you hit a permissions restriction during install, please contact your company's IT / MIS department for help.
wsl.exe --list --verbose 沒看到 Ubuntu-22.04,或安裝過程中出現錯誤?點開查看解法Don't see Ubuntu-22.04 in wsl.exe --list --verbose, or hit an error during install? Click to see the fix
請依序執行以下指令:Run the following commands in order:
-
查看可安裝的發行版清單。List the available distros online.
PowerShell
wsl --list --online -
更新 WSL 核心元件。Update the WSL core components.
PowerShell
wsl --update -
改用網頁下載方式重新安裝 Ubuntu-22.04。Reinstall Ubuntu-22.04 using web download instead.
PowerShell
wsl --install -d Ubuntu-22.04 --web-download --no-launch